USB Data Backup Copy Function Manual for AT9S Pro/AT9S/AT9
Click the website below to download the Radiolink AT9S Pro/AT9S/AT9 data copy by USB V1.0 System
https://www.radiolink.com.cn/firmware/transmitter/AT9SPro&AT9S&AT9/
Note 1: Every time AT9S Pro/AT9S/AT9 is connected with a computer via USB cable, it’s advised to reopen "Radiolink AT9S Pro/AT9S/AT9 USB data copy system V1.0".
Note 2: When sending data to AT9S Pro/AT9S/AT9 with success, a "DD" sound would be heard. If there's no DD sound, please reopen "Radiolink AT9S Pro/AT9S/AT9 USB data copy system V1.0", return on the AT9S Pro/AT9S/AT9, reconnect the USB cable.
Steps:
1. To have the copy function, firmware of AT9S Pro/AT9S/AT9 should be upgraded to V1.3.3 or above. For the detailed steps about how to flash the latest firmware, please refer to https://www.radiolink.com/at9spro_firmwares or https://www.youtube.com/watch?v=QvazyIYqLJ8

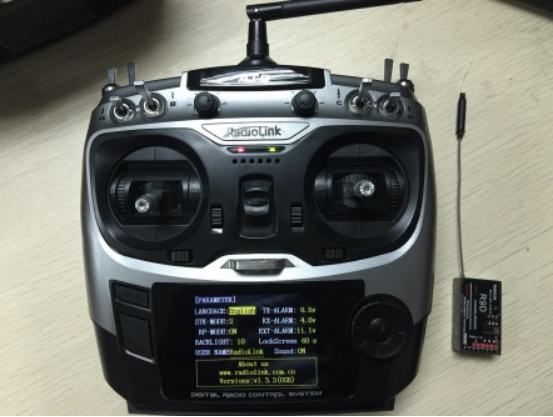
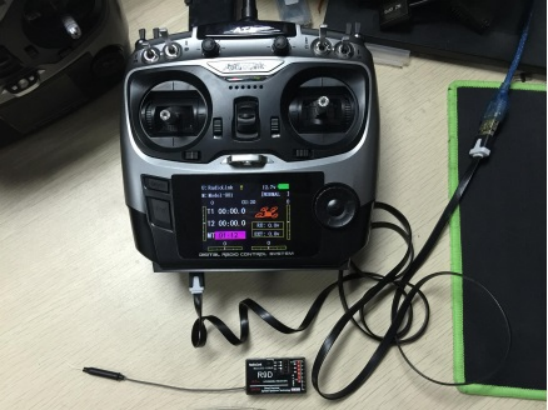
2. Turn on transmitter, then connect to computer with the USB cable.

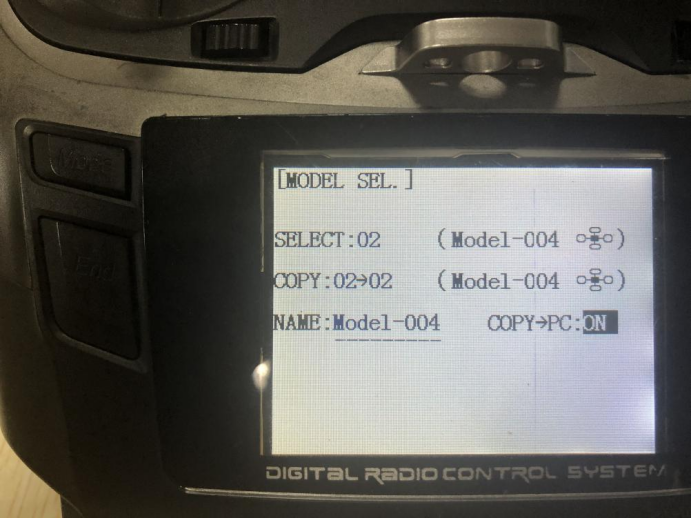
3. Turn on USB data copy function in MODEL SEL. menu:
Long press MODE to enter BASIC MENU => Rotate the dial to select MODEL SEL => Short press PUSH to enter => Rotate the dial to select COPY→PC: ON => Rotate and PUSH to confirm.

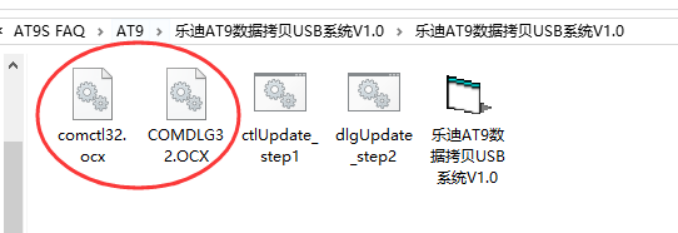
4. Copy "comctl32.ocx and COMDLG32.OCX" and paste to C:\Windows\SysWOW64\

5. Open "AT9S PRO/AT9S/AT9 USB data copy system V1.0" as administrator

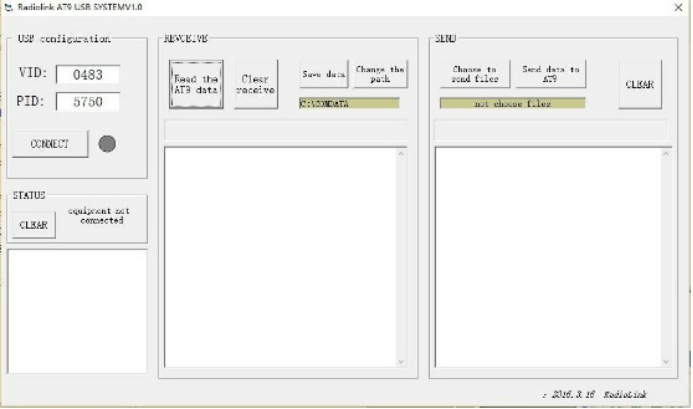
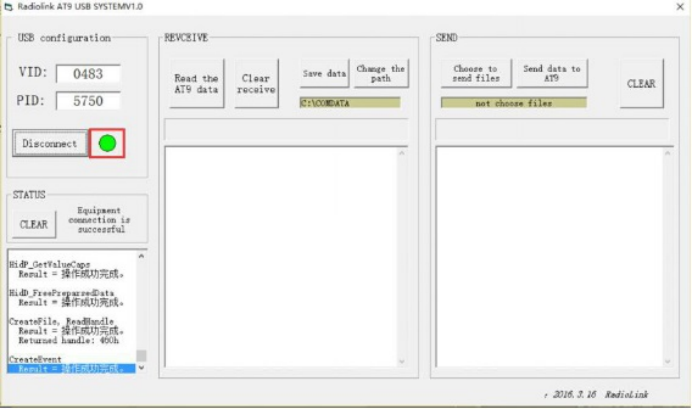
6. Click "CONNECT". A green light means connect successfully.

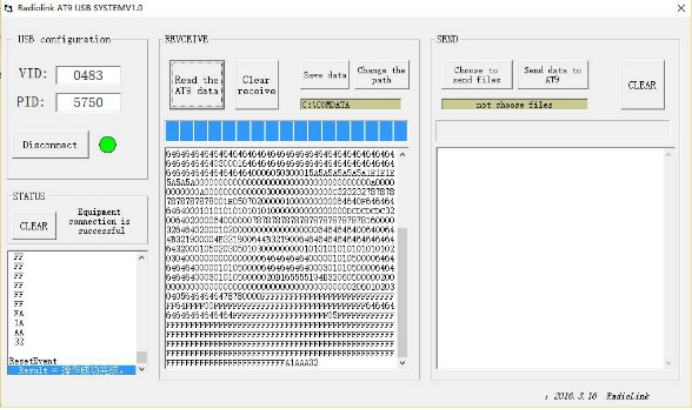
7. Read the AT9S PRO/AT9S/AT9 data: click "Read the AT9S PRO/AT9S/AT9 data". The green light is flashing while reading the data. You can hear "D" sound twice from AT9S PRO/AT9S/AT9 when data reading is finished.

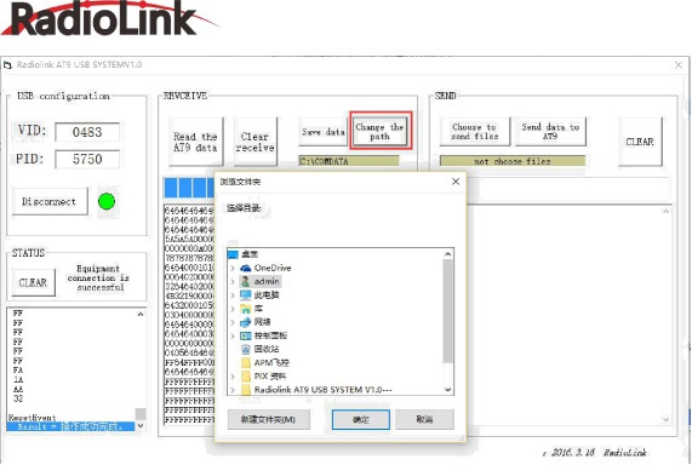
8. Change the path to save the data in the file you want, then click Save Data

9. Connect the new AT9S PRO/AT9S/AT9 and reopen "AT9S PRO/AT9S/AT9 USB data copy system V1.0". Choose to send files: choose the file just saved.
10. Click "确定(confirm)" if the reminder "Please input data is a hexadecimal" pops out.

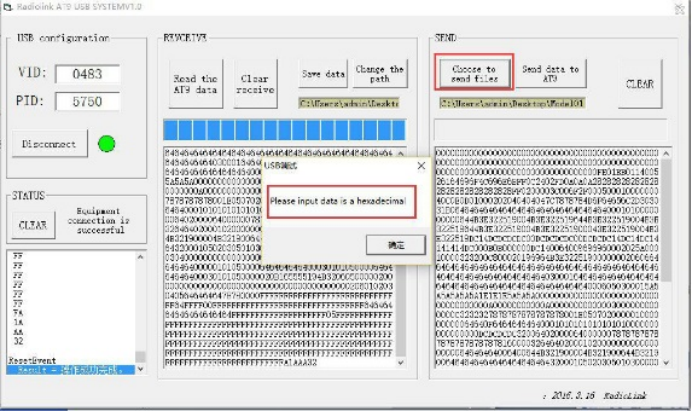
11. Send data to AT9S PRO/AT9S/AT9: click "Send data to AT9S PRO/AT9S/AT9". AT9S PRO/AT9S/AT9 will keep making "DD" sound till the progress bar finishes, then you can pull off the USB line and turn on your AT9S PRO/AT9S/AT9.


Note: If the AT9S PRO/AT9S/AT9 doesn’t have “DD” sound, it means the data copy has failed. Please reconnect the AT9S PRO/AT9S/AT9 with the computer and try to send again.